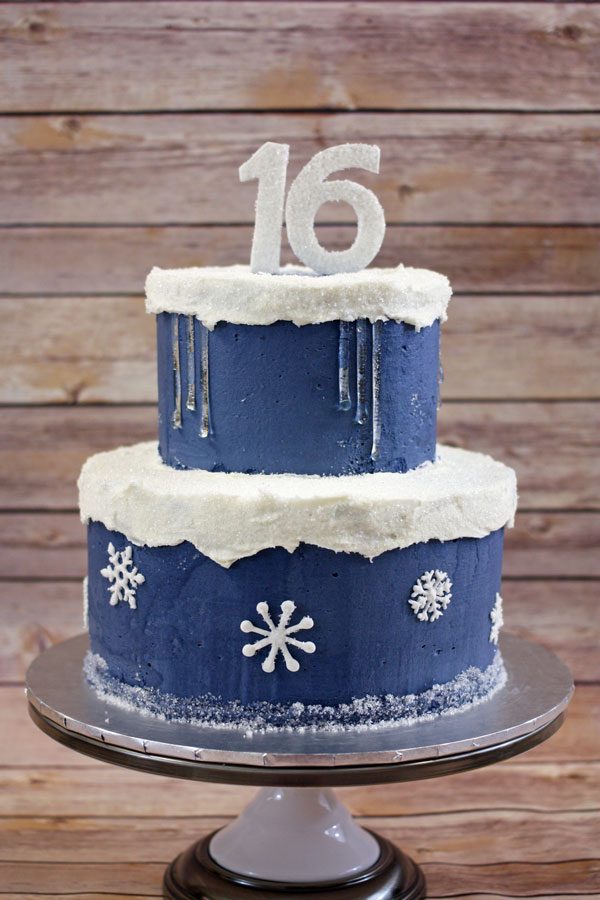
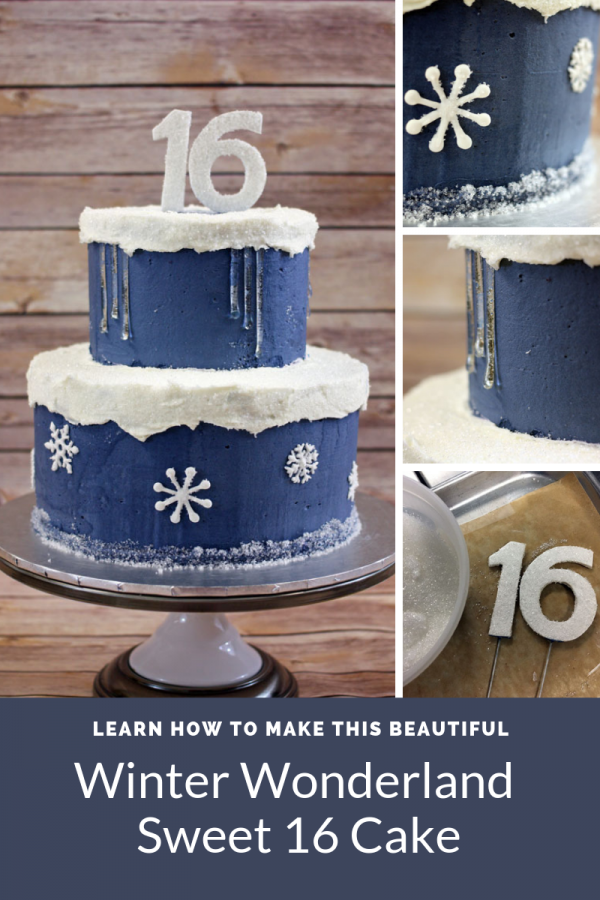
I made this gorgeous winter wonderland sweet 16 cake a couple of years ago for wonderful neighbor’s daughter. I had always wanted to start playing with poured sugar so I thought this was the perfect opportunity. The sugar icicles are actually pretty easy to make. Here is a quick breakdown of how to make this design yourself. I recommend making the decorations a few days in advance so they have time to dry.
What you’ll need
- Cake(s) frosted in blue buttercream (I used Delphinium Blue Food Coloring)
- Cake board
- White buttercream
- Wilton Sparkling Sugar
- Royal icing (for snowflakes)
- Wilton Piping Gel
- White fondant
- Candy Thermometer
- Parchment paper
- Silpat (optional)
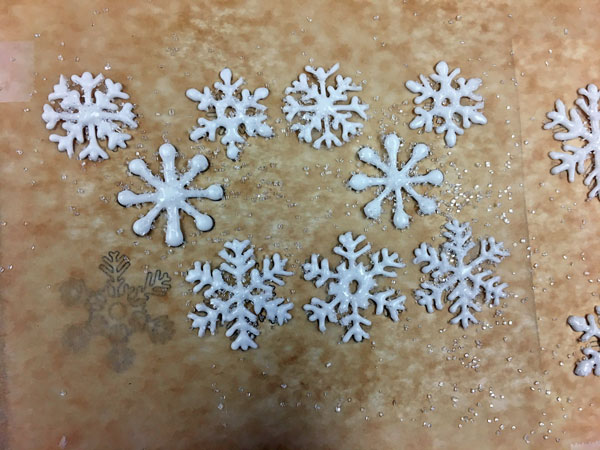
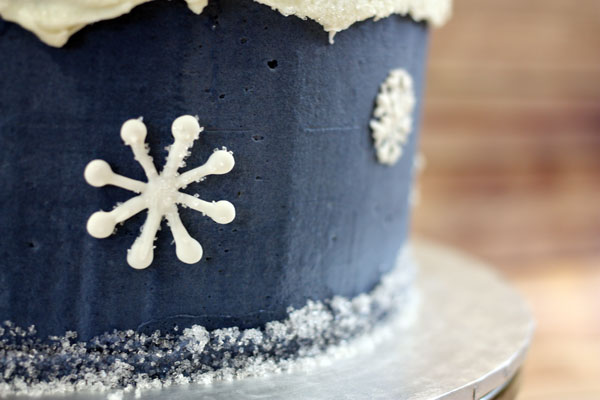
The Snowflakes
A few days in advance make the snowflakes so they have time to dry. I wanted to create a few different sizes and shapes so I found a great image that I enlarged to different sizes, then printed out (here’s a copy for you to print as well). I put the printout on a cookie sheet and covered it with a piece of parchment paper. I then used a tip #2 and some royal icing to pipe out each of the snowflakes. Be sure to make extra in case of breakage. While they were still wet I sprinkled them with more sparkling sugar.
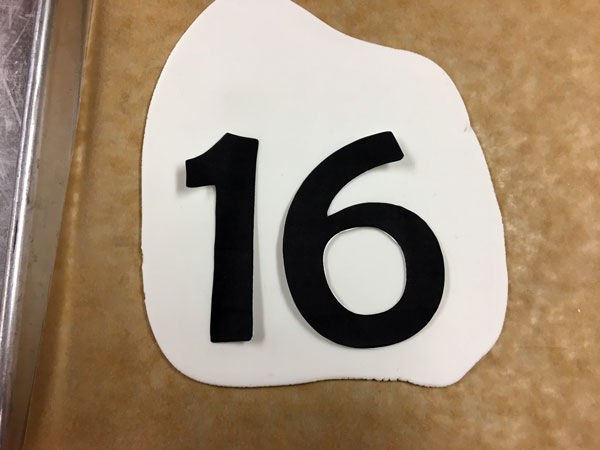
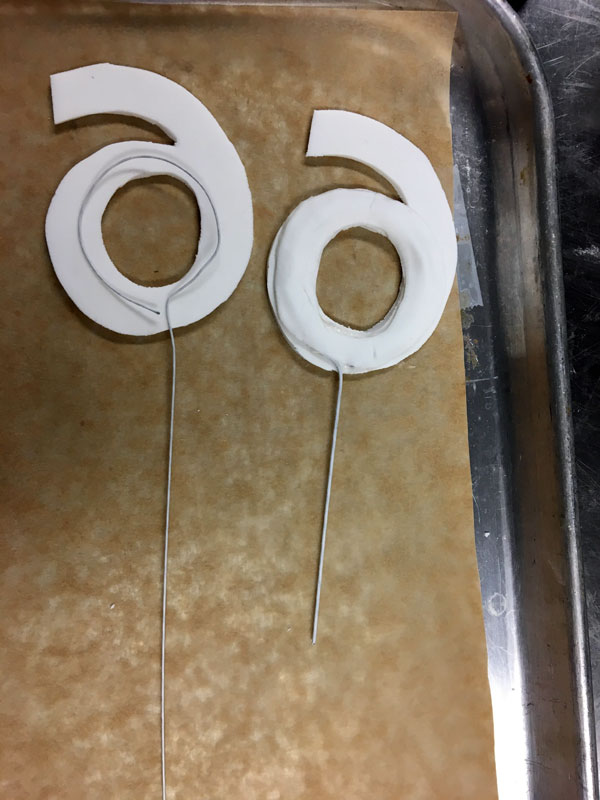
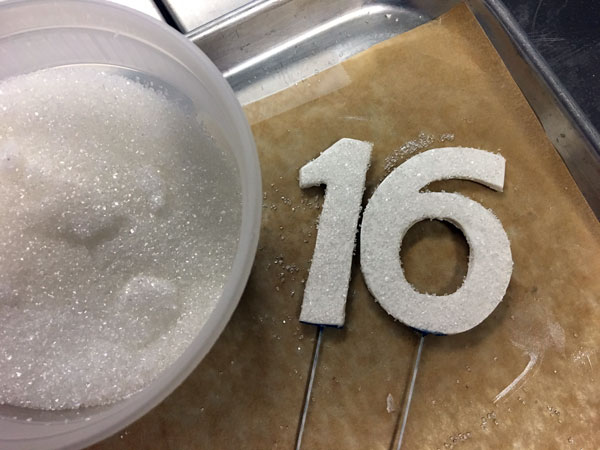
The Topper
For the topper I created a number template to use as a guide (it’s in the same file as the snowflakes). I rolled white fondant about 1/4 inch thick and cut out the numbers with a sharp knife. They dried overnight on a cookie sheet lined with parchment so that they would hold their shape. Once they were firm I flipped them over, brushed with water, laid a thick wire on top then covered with additional fondant to hold it in place. Once the bottom layer of fondant dried I flipped the numbers back over, wet the front face and sprinkled with sparkling sugar.
The Icicles
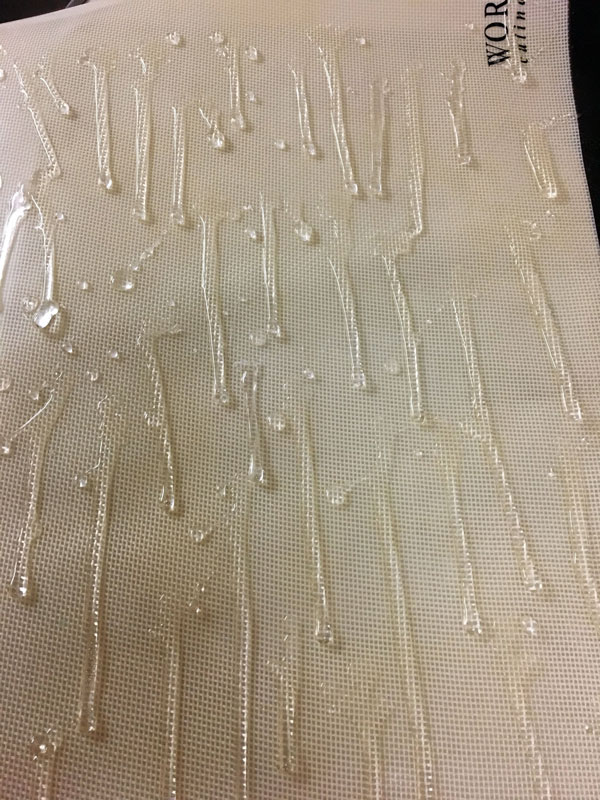
I was really excited to try doing something with poured sugar. I had tried once before but I used tap water, which made the final result a little yellow in color. For icicles I wanted them to be perfectly clear. After doing some research I discovered that the impurities in regular tap water will cause the discoloration. Instead you can use distilled water (which you can get at the grocery store). For the pulled sugar recipe, there are a number out there you can follow. They mostly consist of combining 2 parts sugar to 1 part water. Some also call for adding cream of tartar or corn syrup. I followed this recipe from Food Network.
I let the sugar cool to a “honey like” consistency. Meanwhile I prepared a sheet pan lined with a Silpat (alternatively you could line it with parchment paper). I propped the pan up at an angle so that the sugar would drip down as I poured it. Then I just poured held the pot above the mat and use a spatula to drip it down forming the icicles. I was sure to made plenty extra in case of breakage. Once they cooled completely I gently removed them from the mat and stored them in an air tight container with some desiccant (i.e. silica packets I saved from various food packaging) to keep moisture from getting to them.
Putting the Sweet 16 Cake Together
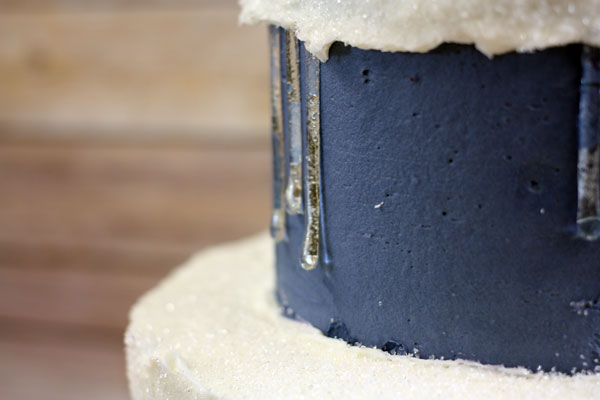
The cake is on the smaller side for a tiered cake, a 10 inch round on bottom and a 6 inch round on top, but you could easily scale the size up or down to fit your needs. I frosted the cake in a simple buttercream tinted using Wilton Delphinium blue food coloring. I wanted to get a blue color that was a little muted to match the winter season. Before I stacked the cake (using my sturdy cake stacking method) I put each tier in the fridge to get the buttercream nice and cold. That way I could add the “snow look”.
Once the buttercream had hardened in the fridge I spread a layer of white buttercream around the top of each layer. I sprinkled the sparkling sugar on the layer of white buttercream, while it was still wet, to give it some sparkle. I then chilled the tiers again to firm up the layer of white buttercream before stacking the cakes.
After stacking them I applied a thin layer of piping gel around the base of the bottom cake and applied some sparkling sugar using a spatula to make a snowy border. Lastly you can apply all of your snowflakes, icicles and numbered topper and your done!


Leave a Reply
You must be logged in to post a comment.