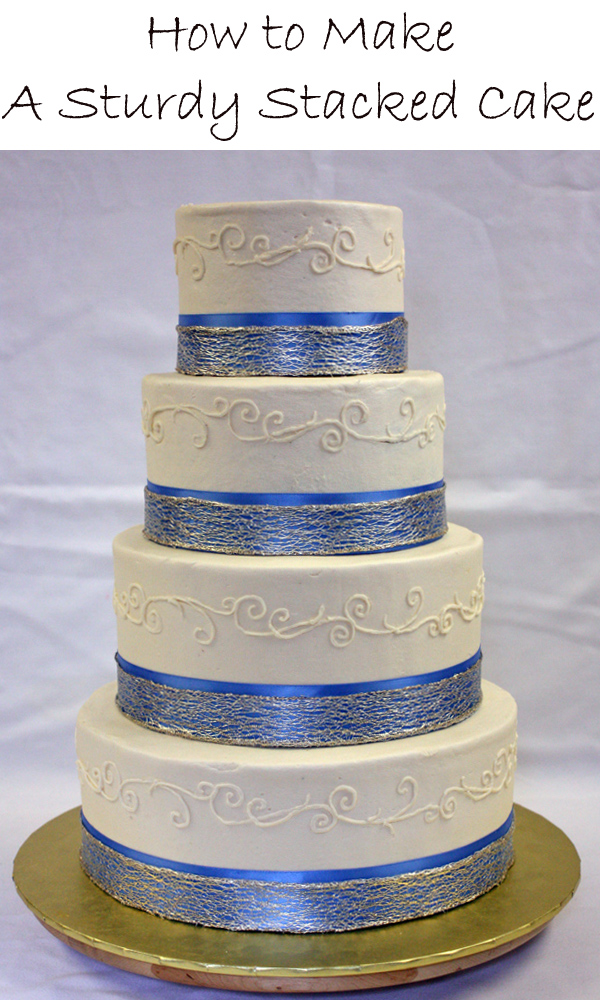
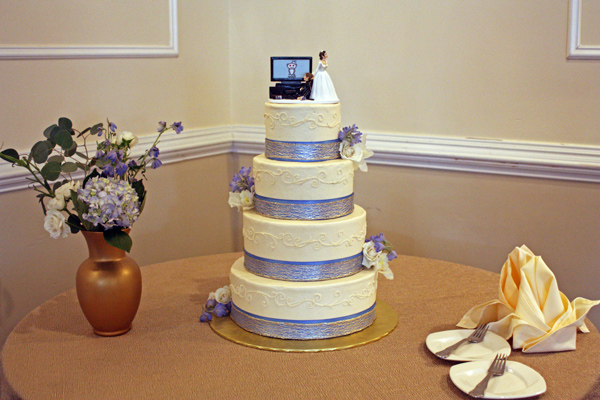
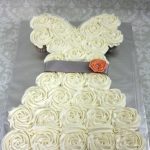
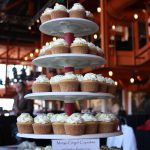
 A few weeks ago I made this lovely 4 tiered cake for a wedding, but the location of the wedding was a two hour drive away. That may seem far, but I’ve delivered many cakes much farther than that. I once delivered a cake from Northern New jersey all the way to Washington D.C., and the number of times I’ve driven through the Bronx to deliver one to Long Island…well I’ve lost count. Then there are the local deliveries that I think will be easy, but I end up going up a VERY steep hill to get to it.
Through it all I’ve never “lost” a cake, so I thought I would share my method of making sturdy stacked cakes since it has proven to stand up to some pretty crazy road trips.
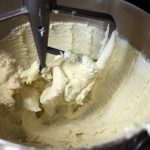
Tip 1: Cold buttercream cakes are much easier to work with
First off, I always stake my buttercream cakes when they are nice and cold. This makes them much easier to handle, and you are less likely to mess up the smooth finish you worked so hard to achieve. Fondant cakes don’t need to be cold since the fondant makes it pretty easy to handle. To start off I attach the bottom tier to my foil covered MDF board using a little buttercream to get it to stick. I think determine what the “front” of the cake will be and face it towards me.
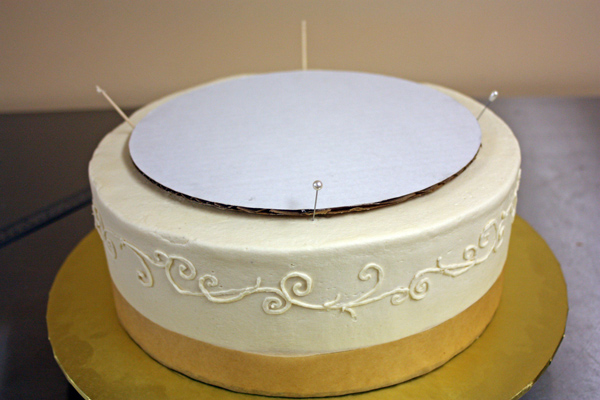 I then lay a cardboard cake circle the same size as my next tier on top of the cakes and use pins or toothpicks to mark my boundaries.
Tip 2: Choose your supports wisely
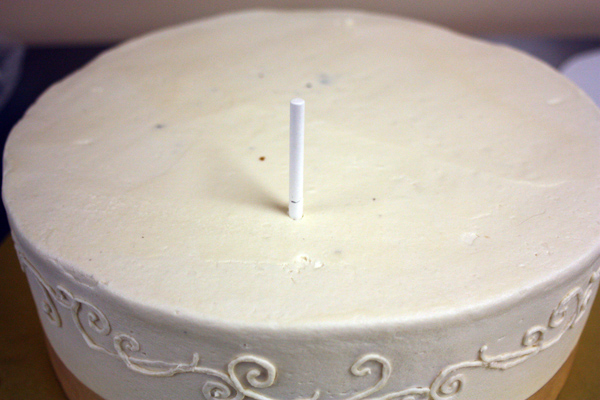
Next I use Cookie Sticks (which you can buy online or at your local craft stores) as my supports. I like the cookie sticks because they are food safe and they are thicker than regular lollipop sticks. I insert a single stick towards the front of the cake (within my boundaries) and mark where it meets the top of the cake with a pencil (in the pictures below I’ve already pulled the stick out a bit so you can see the pencil mark).
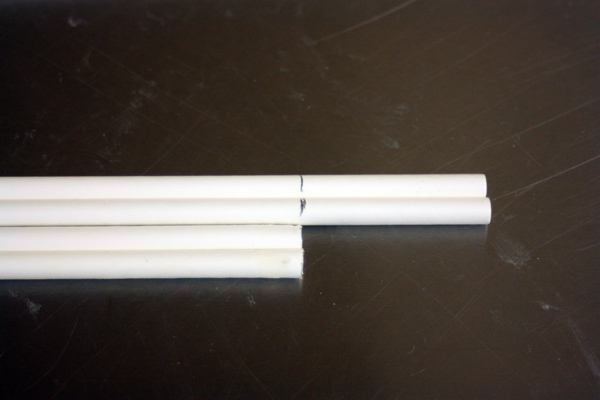
 That now becomes my guide stick and I cut more supports to the same length. It is better to use the first one as a guide for the rest rather than putting each one into the cake and marking it since your cake marking it since you frosting may not be perfectly level. That in turn would make the sticks all different heights, which in turn would make the next tier lopsided. Once you have marked all your sticks you can use heavy duty scissors to cut them. I actually have a pair of gardening shears
 I bought and keep in my kitchen just for this purpose.
Tip 3: Make sure you use enough support
As far as “how many supports per tier” I find that I use the following guide: (diameter of the cake/2) +1. So for example if I were stacking a 10inch round on top of a 12 inch round I would do (10/2) + 1=6. I would insert 6 supports into the 12 inch tier in order to support the 10 inch tier going on top of it. I’ve seen some other folks that just do diameter/2, but I like to add one extra especially if I’m working with fondant cakes since they are a little heavier.
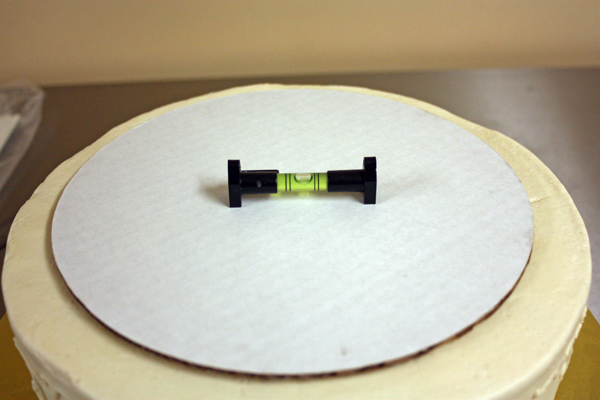
I distribute the supports evenly within my “boundaries” but I make sure I don’t put any in the very center (more on why in a bit). I then put my cake cirlce back on and use a level just to make sure everything looks good. Just make sure your work surface is level first. Having a small level like the one shown is very handy tool to have in your cake decorating arsenal.
 I then place my tier on top, if your buttercream is still very cold you can apply a thin layer of fresh buttercream on before placing you cake, just to help it stick. For fondant cakes I like to use royal icing in between my tiers if I have some handy, otherwise some buttercream will help them stick together well.
Tip 4: To make it really sturdy, dowel the entire cake
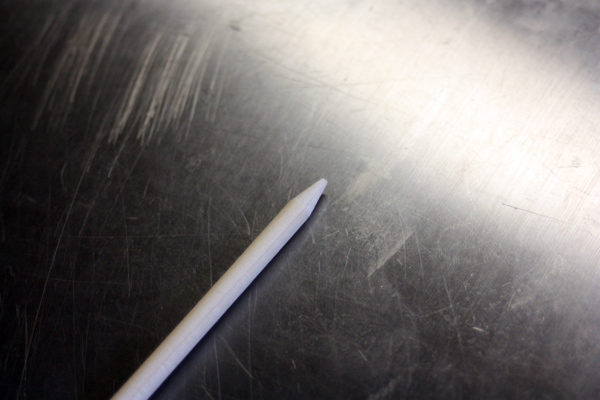
Continue stacking each tier just like the first. When they are all done the final support goes in. I like to use these bamboo dowels as my center support. However they are only 12 inches long, so for anything over 3 tiers they don’t work. That’s when I go to my local craft store and buy a long dowel rod, just make sure you wash it thoroughly before putting it into the cake. I also recommend having a pencil sharpener that you use only for sharpening the ends of the dowels, which is what I do.
 I then use a hammer to drive the sharp end of the dowel through the entire center of the cake. For buttercream cakes I put it through the top tier as well since I can easily cover up the hole with more buttercream, but for a fondant cake I instead make sure that I cut a small hole in the bottom of the top tier cake board before frosting and filling the cake. That way I can drive the dowel through all but the top tier, and then just place the top tier onto the dowel through the hole in the bottom of the board.
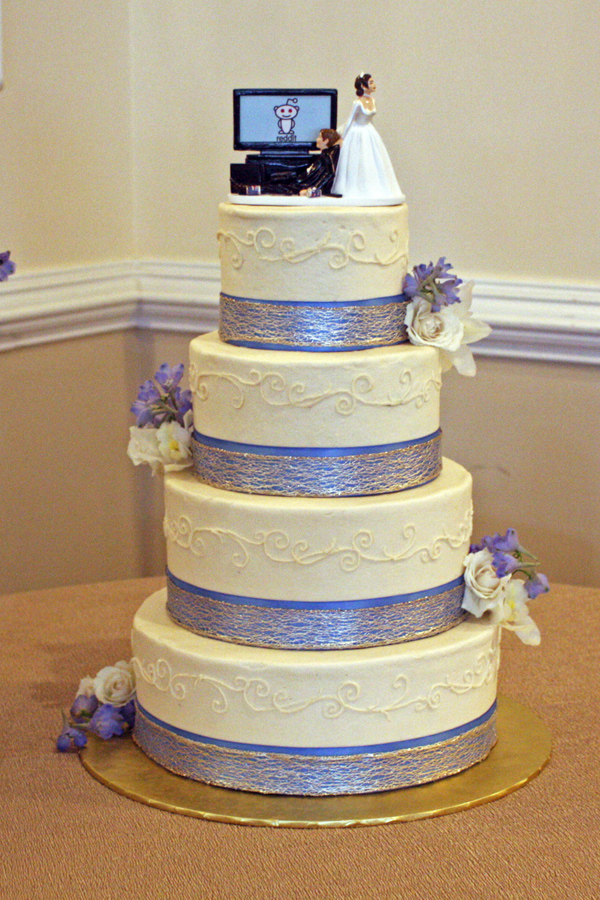
If there will be a cake topper then you don’t have to worry about any holes in the top of the cake since they will be covered, and the dowel acts as a support for the cake topper too!
 Oh, and if you want to know how I applied the ribbon or scroll work to this cake check out my other tutorials: How to Apply a Real Ribbon Border and Piping Scrollwork With a Laser Level. The natural ivory color was achieved by adding strong black tea to the buttercream.


Leave a Reply
You must be logged in to post a comment.