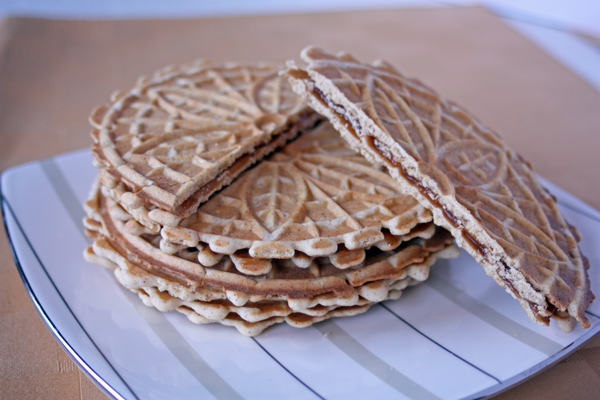
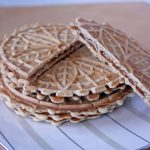
Stroopwafels are a wonderful little Dutch cookie that originated in the city of Gouda (yes the city the cheese comes from). The are made by creating two very thin waffle like cookies and then sandwiching a thin layer of caramel in between. To make the cookies themselves I used my pizzelle maker, but if you have a small waffle cone maker it might work as well.
There is actually a customary way to eat them as well. They are to be eaten with a hot cup of tea or coffee and you are supposed to place the cookie on top of the cup, like a lid, so that the steam from the beverage warms and softens the caramel center. Rip van Wafels has a great graphic that shows the ritual.
Traditional stroopwafel recipes are also made using yeast, but for my version I skipped that and used baking powder instead. The recipe is really easy to mix up.
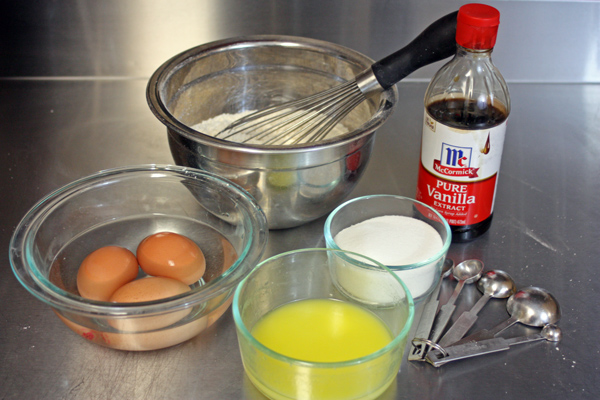
It only needs a few ingredients. You sift together the flour, baking powder, cinnamon and salt. Melted butter, sugar, eggs and vanilla make up the “wet” ingredients. Don’t forget to start preheating your pizzelle maker before mixing up the batter so that it’s ready to go as soon as your batter is done.
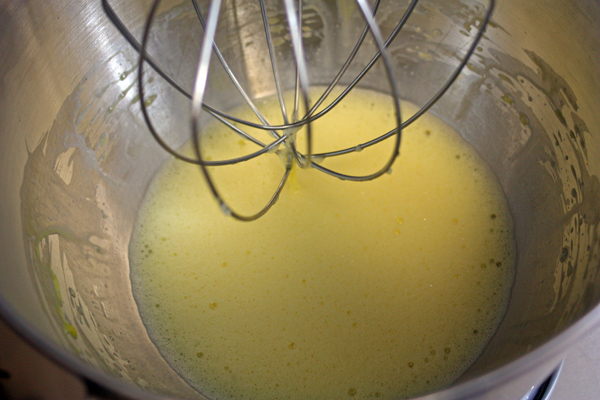
 All of the “wet” ingredients are mixed on medium speed for about 1-2 minutes until the eggs are light and foamy.
 Next add the dry ingredients in 3-4 batches, mixing in between each addition until combined. Be sure to scrape down the sides of the bowl often.
 Once you have your dough and your pizzelle maker is ready you can start making stroopwafels!. I used a 1.5 Tablespoon scoop to portion out the batter, but that will depend on the size of your pizzelle maker. You may want to make one cookie at a time until you determine the “magic number” as far as how much batter you need.
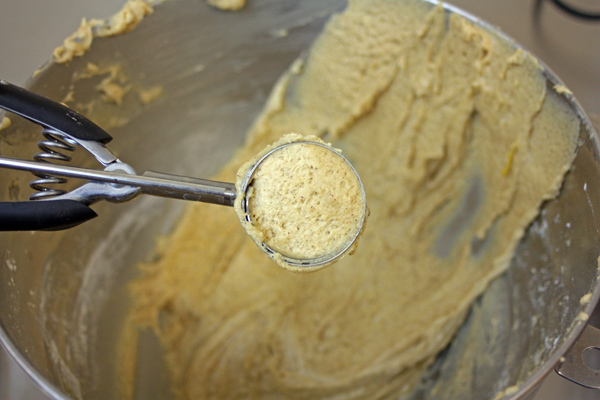 Place the batter onto the hot pizzelle iron. I positioned the batter in the center and slightly towards the back of the circle since it tended to push the batter forward as I closed the lid.
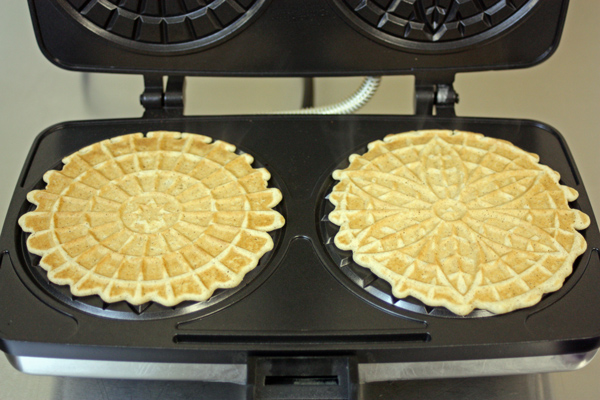
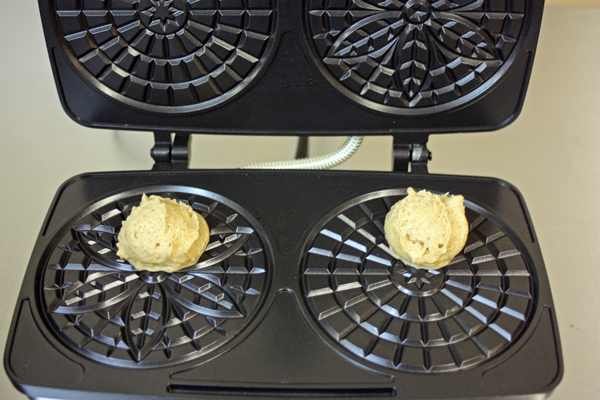 The cookies cook very fast, you can check them after just 20 seconds. I found I needed more like 30 seconds total to get a nice golden brown color.
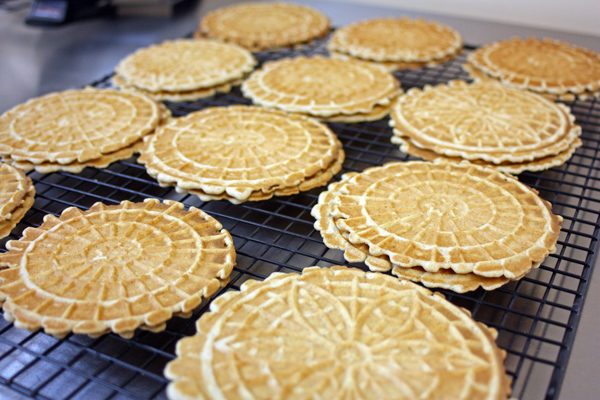
 The cookies will be soft when you remove them from the pan. I use a rubber cookie spatula to move them onto a cooling rack. They will begin to get hard and crispy as they cool so make sure they are flat.
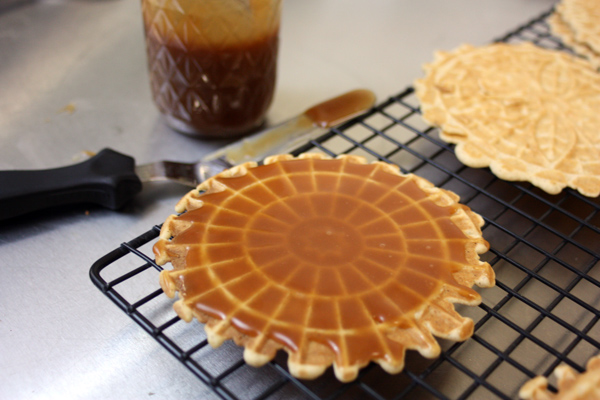
 I usually make the caramel filling ahead of time and store it in the fridge until I’m ready to assemble the cookies. Just warm the sauce to spreadable consistency and then spread a thin layer on one of the cookies. Top with a second cookie and you are done!
For more international recipes check out my eBook series: Cakes without Borders. Each book has completely unique recipes based on ingredients and flavors from around the world.

Stroopwafels
Ingredients
CARAMEL SAUCE
- 1 cup (7.3 oz) granulated sugar
- ¼ cup (2 oz) water
- 6 Tbsp (3 oz) unsalted butter, cut up
- ½ cup (4 oz) heavy cream
COOKIE INGREDIENTS
- 2 cup (8.5 oz) all-purpose flour
- 1 Tbsp baking powder
- 2 teas ground cinnamon
- 1 pinch of salt
- 3 large eggs (5.25 oz)
- 3/4 cup (5.4 oz) sugar
- 1/3 cup (2.7 oz) unsalted butter, melted
- 1 1/2 teas pure vanilla extract
Instructions
MAKE THE CARAMEL SAUCE
-
Heat the granulated sugar and water in a medium saucepan over medium heat and stir until the sugar has completely melted.
-
Stop stirring and watch the sugar boil until it starts to turn golden brown (about 5-6 minutes). It will change to the perfect caramel amber color quickly so keep an eye on it. You want to make sure you remove the pan from the heat before it gets to dark brown. If it gets too brown and smells burnt then toss it out and start again.
-
Once it has reached the perfect deep amber color remove from the heat and quickly whisk in the heavy cream. It may bubble and sputter a bit so be careful.
-
Return the saucepan to low heat and continue to whisk until completely smooth.
-
Add the butter and continue to stir until melted.
-
Allow to cool completely before spreading on cookies. Store any remaining caramel sauce in an airtight container in the fridge for up to two weeks.
MAKE THE COOKIES
-
Preheat your pizzelle iron.
-
Sift the flour, baking powder and cinnamon into a mixing bowl. Add the salt and whisk well to combine, set aside.
-
In the bowl of a stand mixer beat eggs for about 4 minutes until thick. Gradually beat in sugar followed by melted butter and vanilla.
-
Add the flour mixture in 2-3 batch, mixing on low in between each until combined.
-
Place a rounded Tablespoon of batter into the center of each pizzelle form. You may want to position the batter a little towards the back of the form if you find that it pushes the batter up when you close the lid.
-
Close the pizzelle maker and check after about 20 seconds. You can close for another 10 seconds or until the cookie is golden brown.
-
Use a spatula to move the finished cookies onto a flat cooling rack. Once all of the cookies are done and cooled spread a thin layer of caramel on one and top with another.
-
Store the cookies in an airtight container in the refrigerator.


Leave a Reply
You must be logged in to post a comment.