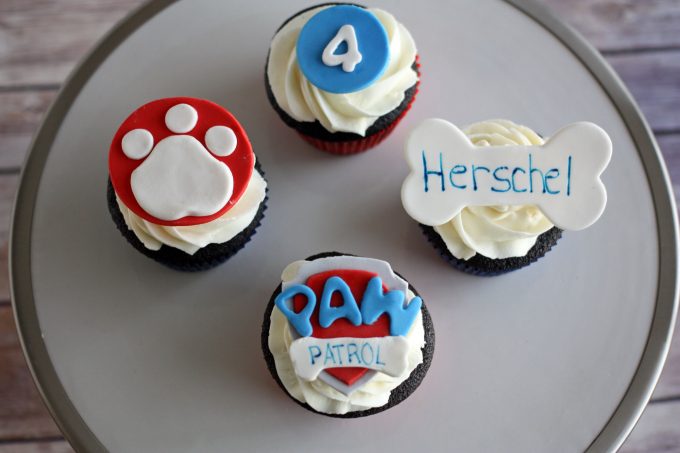
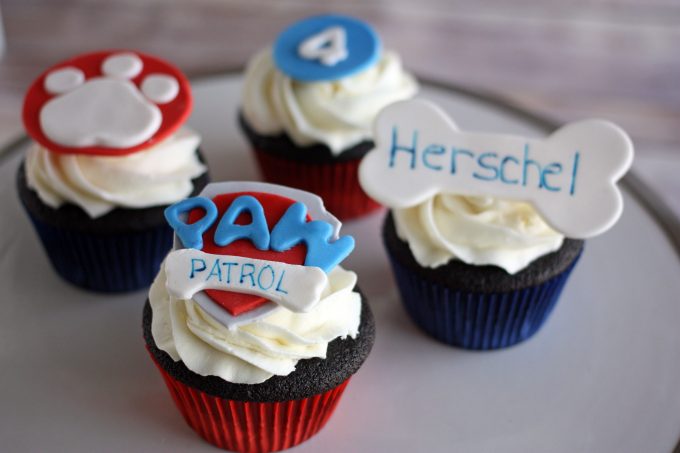
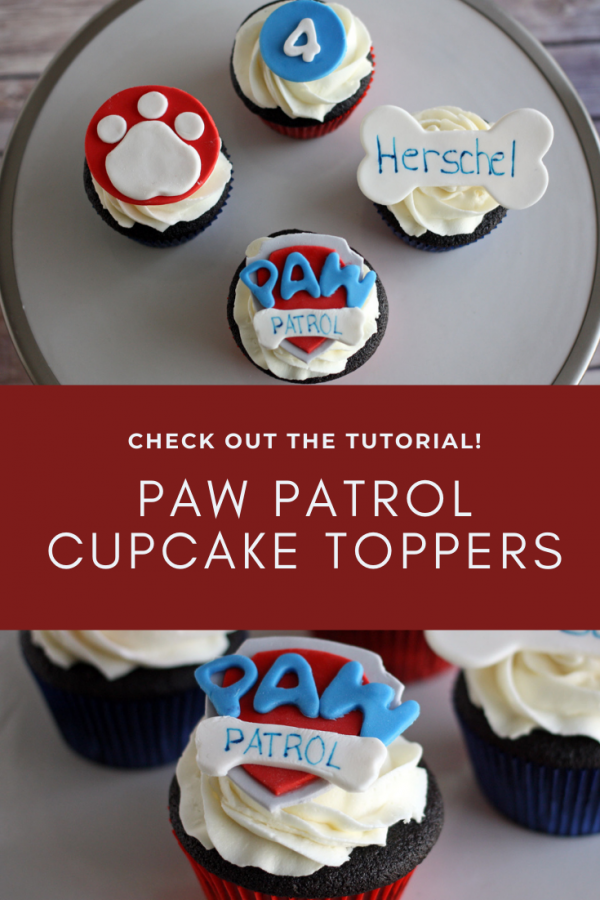
Although my little baby girl is only a few months old, I am already very familiar with Paw Patrol. That’s because ALL of my friend’s kids LOVE Paw Patrol. I knew I just had to make them some Paw Patrol cupcake toppers for their birthdays!
I have already made these cupcakes 3 times, and I’m sure I will be making them again in the future. You can make them to match either the red and blue logo (as shown) or the pink and purple version. Here is a quick tutorial of how to make them.
Materials
- Fondant in black, red, white and blue (or black, pink, white and purple)
- 2.25 inch and 1.5 inch circle cutters
- Small rolling pin
- Bone shaped cookie cutter
- Letters and numbers cutter set
- Edible markers
- Sharp knife
- Scissors
- Water and a clean paintbrush (to attach pieces together)
- Paw Patrol shield template
To make the Paw Patrol Shield
- Print out the Paw Patrol shield template (on heavy card stock if you have it). Cut out the three individual shields. You only need two of the shields to use as cutting guides, but I put a third in the template as a backup. For one of the shields also cut off the outer gray portion so that just the inner red shield remains.
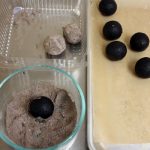
- Take a very small amount of black fondant and add it to some white fondant to make light gray. This will be used for the base of the shield. Roll out the gray fondant to about 1/8 inch thick. Place the full shield template on top of the fondant and use a knife to cut out the shield shape. Place the fondant shield on a parchment lined cookie sheet to allow it to dry.
- Next roll out red fondant to about 1/8 inch thick and use the smaller red shield template to cut out the inner shield. Use a little water to attach the red shield to the gray shield.
- Mix some white fondant with blue fondant to get the light blue color. Roll out the light blue fondant to 1/8 inch thick and use the alphabet cutters to cut out the letters P, A, and W. Use a little water to attach the letters to the shield like in the picture above.
- Roll out white fondant to 1/8 inch thick and use a sharp knife and free-hand cut out a small bone shape. Set aside the small bone to dry before using an edible marker to write the word “Patrol” on it, then attach to the bottom of the shield with a little water.
To make the other toppers
- For the paw print topper roll out red fondant to 1/8 inch thick and cut out a 2.25 inch circle. Next roll white fondant to 1/8 inch thick and cut out a smaller (1.5 inch circle). Use a knife to cut the shape of the paw pad then attach to the red circle with a little water. Use a small circle cutter (if you have it) to cut out 3 white fondant circles for the toes and attach to the top of the circle as shown above. If you don’t have a small circle cutter you can use a size 12 pastry tip as a cutter, or just roll out three balls of white fondant and flatten into a small circle.
- To make the bone nameplate roll out white fondant to 1/4 inch thick and use the bone cookie cutter to cut out the bone shape. Set aside and allow to dry before writing the name on using an edible marker.
- To make the number topper roll out fondant (whatever color you like) and cut out a 1.5 inch circle. Roll out fondant in another color to cut out the number for the birthday year.


Leave a Reply
You must be logged in to post a comment.