A few years ago I made this beautiful Birch Tree Winter Wedding Cake. It is one of my all time favorite wedding cake designs that I’ve created. I’m glad to finally be sharing the process of how I did it with you all. I’ve even including a list of supplies you’ll need with links to the products I use/recommend.
 What you’ll need:
- 12 inch, 9 inch, and 6 inch round cakes, mounted on cake circles of the same size and frosted in buttercream. I recommend having them cold so they are easier to work with.
- White fondant
- Large Rolling Pin
- Small Rolling Pin(optional)
- Extra 12 inch cake circle
- Sharp knife
- Cake airbrush, I have an Aztek Airbrush. If you don’t have an airbrush you could use a Light Brown Powdered Food Coloring to paint on the rings of the tree with a dry brush.
- Light brown airbrush color, or brown and white mixed
- Flexible measuring tape (or long piece of string/ribbon)
- Cake Turntable
- Wilton Cake Marker(optional)
- Black and white liquid food coloring (I used airbrush colors)
- Paint brush
- Heart shaped cookie cutter (optional)
- Piping gel
- Sparkling sugar
- Piping bag
- Tip 1M
- White buttercream
- 14-16 inch round foil covered board to place cake on
- Cookie pop sticks or dowels for stacking
Step 1: Cover the Bottom Tier
To start off we will work with the 12 inch round bottom tier that has already been covered in buttercream. Roll out white fondant to about 1/8 inch thick, or whatever thickness you are comfortable with, and cover the cake with it. Be sure to smooth out the fondant, then set the cake aside to let the fondant harden.
Step 2: Cover top of Middle Tier
Next we will work with the middle tier (9 inch round) that has been covered in buttercream. You will cover it in fondant in two stages. First roll out white fondant, about 1/8 inch thick, into a 12 inch circle (this is where I used the extra 12 inch cake cardboard as a guide).
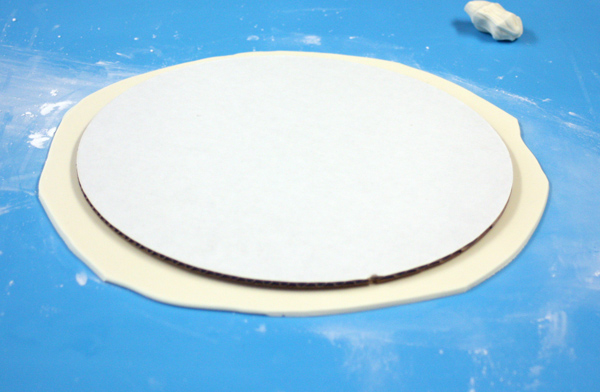
If the buttercream on the 9 inch cake is dry, moisten it with a little water (a spray bottle works great for this). Lay the circle of fondant centered on top of the cake and trim away the excess so it is flush in one of the two following ways:
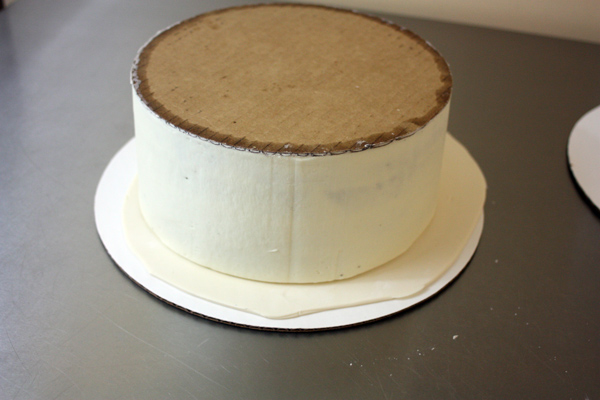
- To get the fondant edge as clean as possible, I decided to try flipping the cake over. Only perform this step if your cake is very cold, otherwise it will not hold up! Place the 12 inch cake board on top of the fondant so it is sandwiched between the cake and the cardboard. Next carefully flip the entire cake over as shown below. Use your sharp knife to cut the fondant perfectly flush with sides of the cake. Once you have cut the excess fondant away, carefully flip the cake back over.
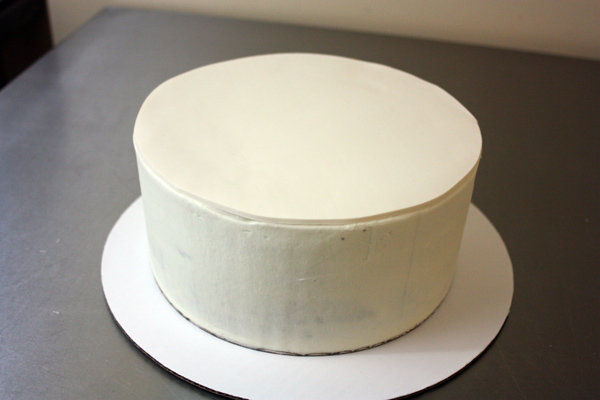
- If your cake is not cold, or sturdy enough, or you just don’t feel comfortable flipping it over, you can always just trim the fondant flush with the cake without flipping it. Just use a sharp knife, or even a small pair of clean sharp scissors, to trim away the fondant.
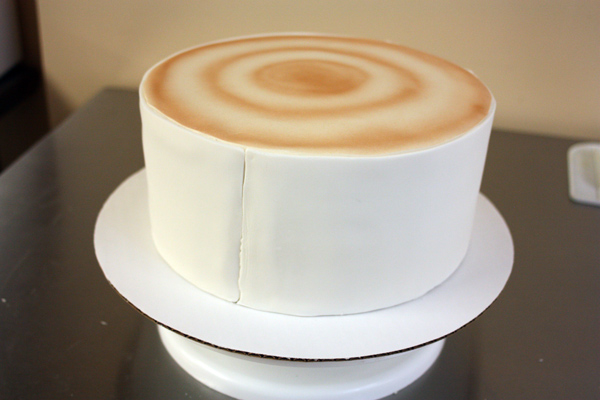
Step 3: Airbrush Middle Tier
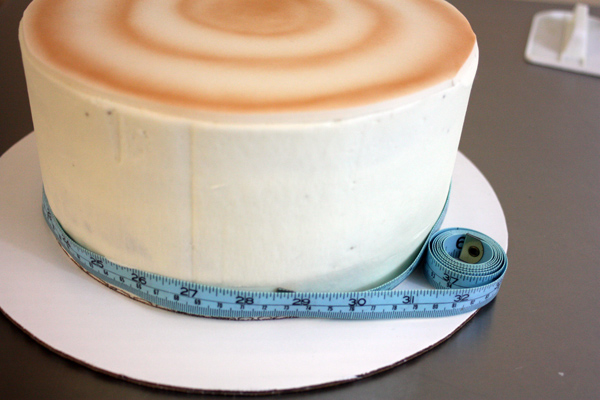
Now that the top has been covered you can decorate it to look like a tree trunk. If you have an airbrush, use it with light brown color to spray rings around the top of the cake to look like the rings of a tree. To make light brown color I mixed a little white airbrush color into regular brown. I tested out how it looked on a piece of extra fondant until I got the right blend. If you do not have an airbrush you can try using light brown powdered food coloring and a dry brush to paint on the rings.

Step 4: Cover sides of Middle Tier
To cover the sides of the middle tier in fondant use a flexible measuring tape, or a long piece of string/ribbon, to measure the circumference of the cake. If it is a 9 inch round you are using, it should be around 28.5 inches. The exact length will vary depending on the thickness of your buttercream. You will be rolling out a piece of fondant to that length to wrap around the cake. I cut my piece exact, but you can always add an extra inch so that you have a little excess, to be on the safe side.
Measure the exact height of your cake as well. Roll out a long piece of white fondant and cut it to the exact height and either the exact length you need, or the length plus 1 inch. A smaller rolling pin comes in handy for rolling long narrow pieces like this.
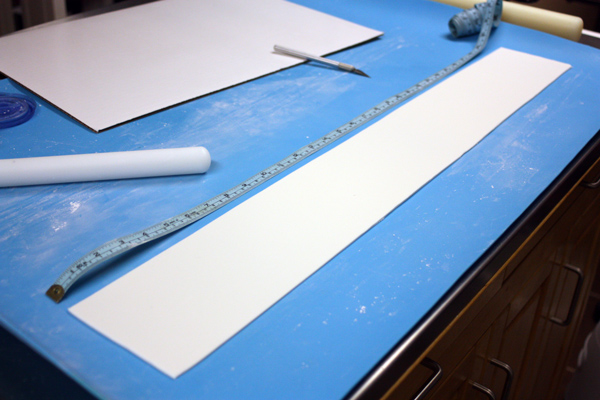
Dust the long piece of fondant with some powdered sugar, then roll it up (again a small rolling pin would be good to use to roll it up). Moisten the sides of the cake and slowly unroll the fondant attaching it to the cake. Make sure it meets at the back of the cake. If there is any excess fondant trim it using your knife so that it is even.
Step 5: Paint sides of middle tier
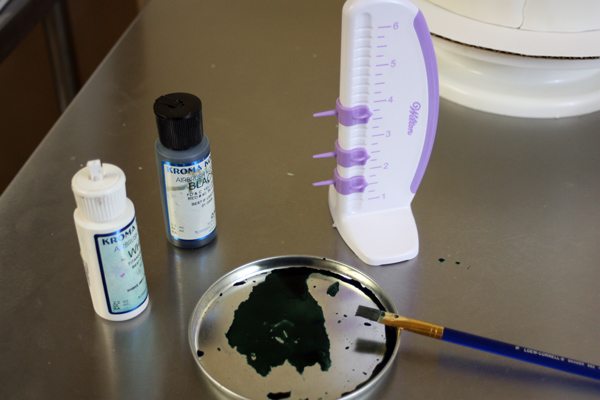
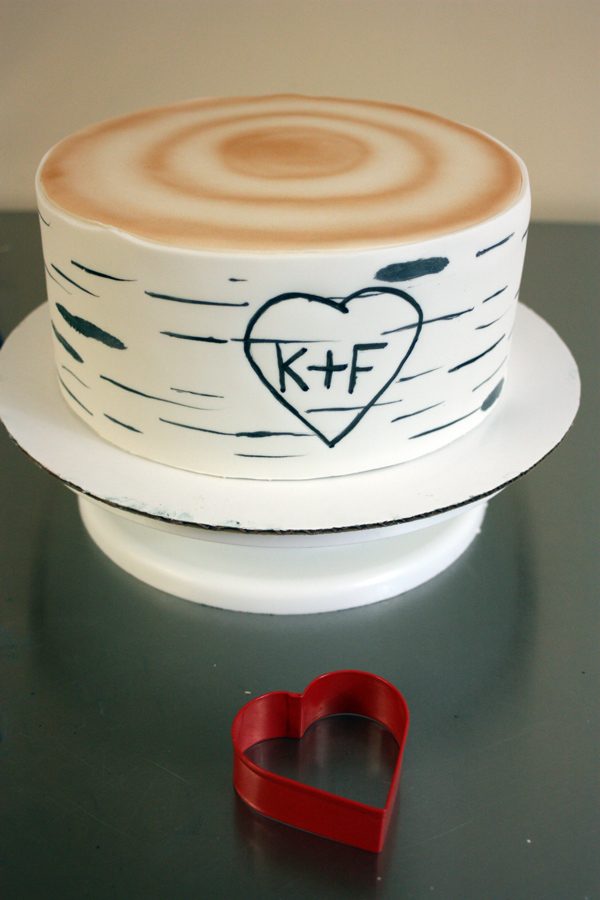
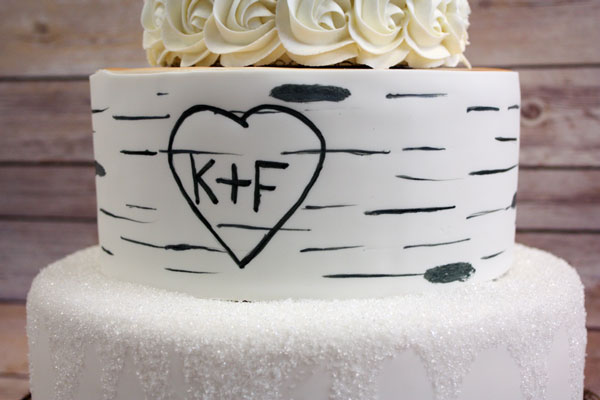
Place the middle tier on a turntable to make it easier to decorate. On a small plate mix black liquid food coloring with a little white to make a dark gray color. To paint the “bark” of the tree I used a Wilton cake marker, which is optional, but it did help keep my lines straight. I dipped the ends into the food coloring, then lightly brushed it along the cake. I would change the location of each pin in between each “swipe” to make the lines look random. Using the cake marker didn’t leave a very dark line, so I used it as more of a guide. I then went back and filled in the lines with my paint brush, making some thicker than others. If you don’t have a Wilton cake marker you can always use a toothpick dipped in food coloring to make the thin lines, then go back and fill in with a paint brush.
To make the monogram, use a heart cookie cutter and dip it in the same dark gray food coloring. Gently press it into the front of the cake to make the outline of a heart. Use your paint brush to fill in the outline, then freehand paint the letters you wish to use inside the heart. If you do not have a heart cookie cutter you can always free-hand the painting of the heart, or print out a picture of a heart to use as a guide.
Step 6: Stack the cake
Place the bottom tier onto a sturdy cake board covered in foil, or whatever other base you wish to use. I like to use these sturdy masonite boards covered in food safe Cake Foil. Stack the 9 inch and 6 inch tiers on top (see my post on how to stack a cake for tips).

Step 7: Make the snow on the bottom tier
To make the bottom tier looks like it is covered in snow use a clean paint brush to brush on clear piping gel. Cover the entire top surface of the 12 inch tier that is visible with piping gel. Then paint the piping gel down the sides of the cake in a “drip” pattern.
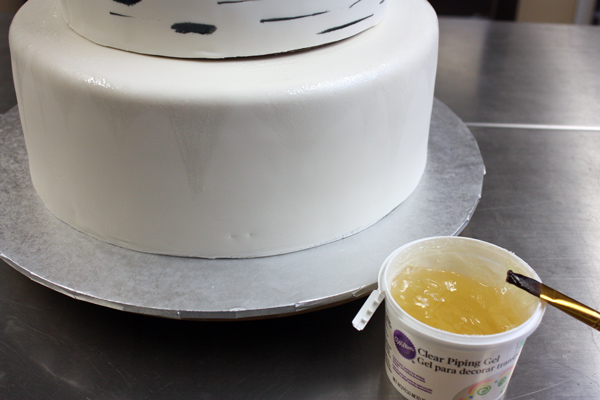
While the gel is still very wet, sprinkle with sparkling sugar sprinkles until all the piping gel is covered. I recommend putting the entire cake on a turntable with a cookie sheet or large pan under it. This will help catch any falling sugar so that it can be collected and re-applied.
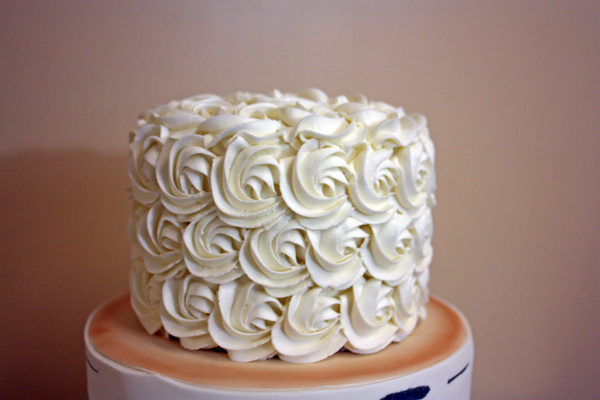
Step 8: Pipe the top tier
The top tier should have a base layer of smooth buttercream. Place your extra buttercream in a piping bag fitted with tip 1M. Starting on the back of the cake, at the bottom, make a row of rosettes around the entire cake. Continue going around the entire cake working your way up, and over, the top of the cake. Finishing the top off with one large rosette in the center. Each row should be slightly offset from the one below it, as shown in the photo
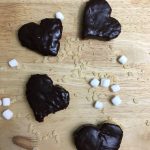
Your Birch Tree Winter Wedding Cake is now complete! There were a few extra touches I added to the cake as well, like the bottom border shown in the photo below. To create it I found some wired branches at a local craft store. I then used piping gel and sparkling sugar to give them the same snow/ice look as the cake. The adorable Mr & Mrs Cake Topper shown in the photo was also hand made. I will write about how I did that in my text post, so stay tuned!
As always if you have any questions feel free to reach out!


Leave a Reply
You must be logged in to post a comment.